Weckjars.com was kind enough to provide me with a home-canning guide that was immensely useful and included recipes for a variety of jams, preserves and pickled food. Here's a run-down of the essentials:
1) You need a large pot that's deep enough to accommodate both a rack that you can rest in the bottom and the jars. The jars will rest on this rack and should be completely submerged in water when processing.
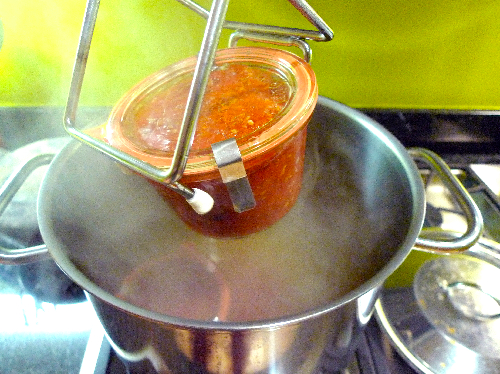
2) You'll also need a jar lifter to remove the jars from hot water with ease.
3) Be sure all of your jars are in pristine condition and have been thoroughly cleaned with hot, soapy water. If you see any mold (from being stored in a damp cellar, for instance), boil them for 10 minutes. Always use new rubber rings, and they should have no cracks or tears. Boil the rubber canning rings for 2-3 minutes and leave them in the hot water until you need them.
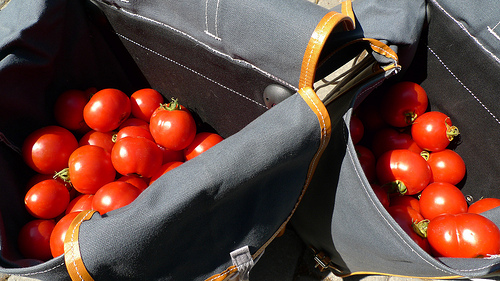
4) Prep your tomatoes. Chop them up and can them raw, or blanch them to remove the skins, make a sauce, roast them...the possibilities are endless. I like the skins and don't mind seeds, so I just sliced mine up, then roasted them in the oven with olive oil and salt.
5) Fill your jars up almost to the top (I left approximately 1/8" of room, Weck recommends 1/2" but I thought that was too much); you want to be sure that the lids don't squeeze any liquid out when you press them down. Wipe down the rims, then add the lids with the rubber canning rings. Be sure the rings are evenly seated around the lid and don't poke up anywhere. This is very important as it will insure a tight seal later on. Weck jars use rust-proof metal clamps to secure the lids during processing. Clamp two of them on top on opposite ends of the lid. Be sure to completely press down so that they click firmly in place.

6) If you're packing raw tomatoes, you must submerge the jars in room temperature water and bring it to boil. Once the water's boiling (212 °F), you must process them for 90 minutes. For cooked tomatoes, bring the water to a boil and then gently submerge the jars for 50 minutes. You may notice that the volume of your tomatoes has decreased slightly due to the processing stage, as steam and occasionally liquid may leave the jar (but won't enter in.)
7) Don't stack jars on top of each other; be sure to use another rack if you add a second level of jars. It's ok for the jars to touch one another and the walls of the pot itself. However, don't pack them in too tightly. Leave some room so you can remove them easily.

8) Remove the jars with the lifter and let them cool completely. Then remove the clamps and test the lids. Here's the moment of truth: they should be firmly in place, and the tab of the rubber canning ring should be pointing downward. If the lids have any give, refrigerate this batch and start over. Store your jars in a cool, dry place away from sunlight and periodically test the lids of your jars over the next few days to ensure they've successfully sealed. If you notice that the tabs are level, check the seal -- it may be loose. I'd avoid consuming any tomatoes if you feel the seal has been compromised. You don't want to get sick and not be able to eat the good ones over the next few months.
9) When you're ready to eat your tomatoes, pull on the rubber tab to break the seal. You'll hear a satisfying pop and you can feast away.

If you're feeling a bit on the lazier side, you can always freeze your tomatoes, too.
Good luck and happy hoarding!
.


