I must emphasize how important it is to have student groups create a draft script because it allows you to assess their science literacy and application of climate science concepts. You can also assist students with practicing their collaborative digital citizenship and discourse. I find the the process facilitates students’ ability to share their understandings and clarify their misunderstandings.
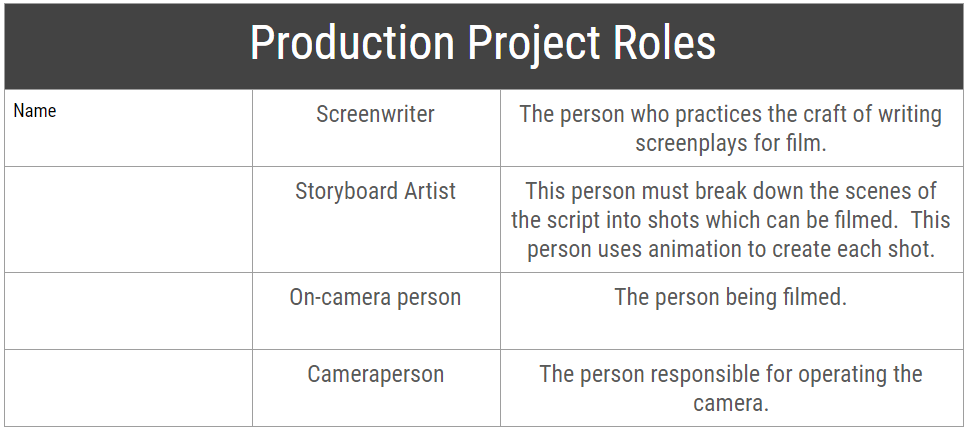
Aftering receiving draft scripts and providing feedback, I advised the screenwriter to review the feedback and refine their script for final submission. Additionally, I introduced the storyboard. Students do not often understand the purpose of a storyboard, which is a series of graphical representations of the script. Therefore, I have found it best to show students examples of storyboards (example: Zootopia). Then, I provided student groups with a template that the storyboard artist used to illustrate the scenes that will be filmed in conjunction with the script. Student groups were required to turn in the storyboard before they were allowed to film.
Production
Students always want to jump to the production stage—they love to film! Remind and reinforce the value and need for a polished script and storyboard; this will ensure you get quality products from students.
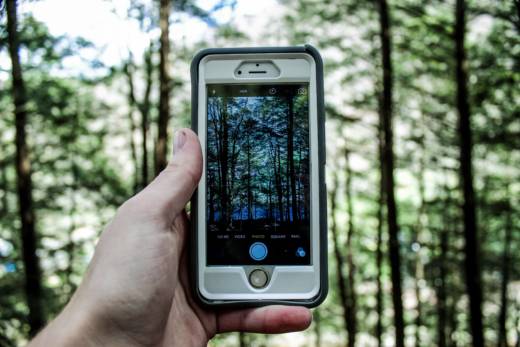
When students were ready to film, I advised students to use a personal electronic device or our school’s Chromebooks. The Chromebook proved to be cumbersome to use with filming, so students primarily used a group member’s personal electronic device. The cameraperson was in charge of filming the segments, and in some cases all students became “on-camera” persons. I advised students to shoot multiple versions of the same scene and to record stock footage, so that they had enough film to edit in the post-production phase.
Post Production
Video editing was where my students really found their element. As I had mentioned, I tasked students with creating a PSA using Adobe Spark, a free graphic design software. However, several groups of students wished to use iMovie. It was hard for me to dissuade students from using a resource that they were comfortable with using, so I was in full support of them using any editing software. This group worked with iMovie:
The students that worked with Adobe Spark found it easy to navigate. Student groups uploaded their video files to their Google Drives, and were able to upload their video files from the drive to Adobe Spark. Adobe Spark allowed students to cut their video files down to desired segments and merge video files to create their public service announcement. This group worked with Adobe Spark:
Adobe Spark has audio files which students can add to their film, and students can add voice over. I’d recommend Adobe Spark as an effective tool for video production because it’s free, versatile and accessible across a variety of devices.
So why film?
Students were thrilled with the opportunity to film. In fact, the hardest part was to get them to slow down and develop their storyline. When I present this project next year, I’d like to improve scaffolds for script writing, as many students’ literacy skills would benefit from considering the details involved in script writing. I’d also like to find software for students to create digital storyboards to better reflect industry standards.
But back to this question: why film? With Snapchat, Youtube and all the other social media outlets that feature video, students find meaning in digital media. Filming gave students a creative outlet, a platform for communicating to others and opportunities to apply different learning modalities. More importantly, the project allowed students to practice their science literacy through failure, reflection and revision.
Editor’s Note:
If you want to learn more about how to make videos in your classroom, take our free, online course Video Storytelling Essentials on KQED Teach.

