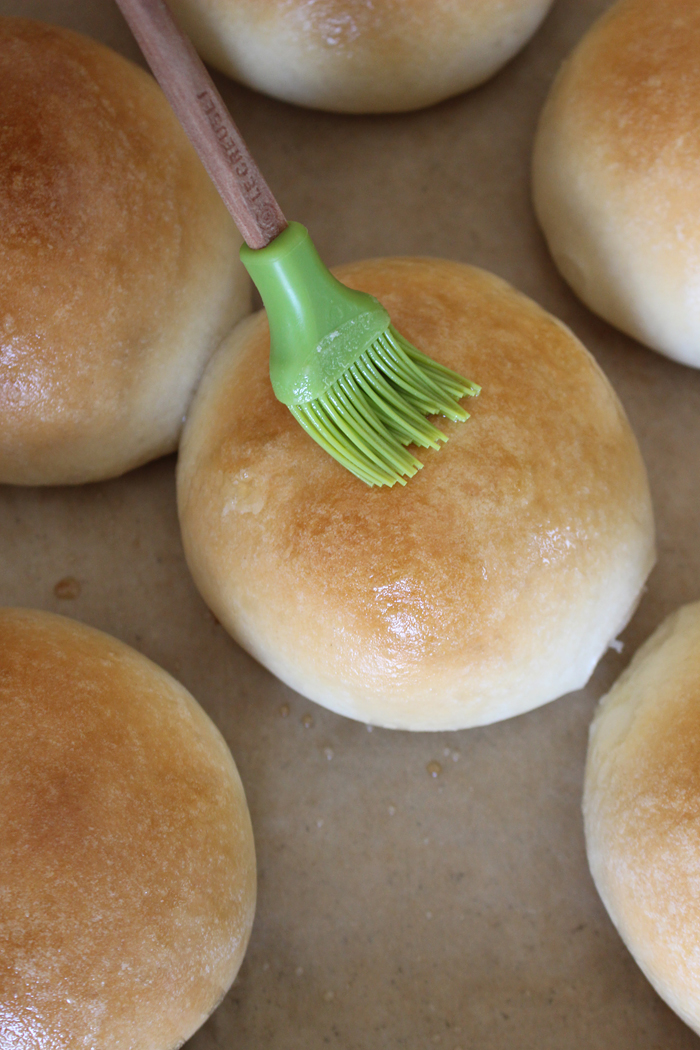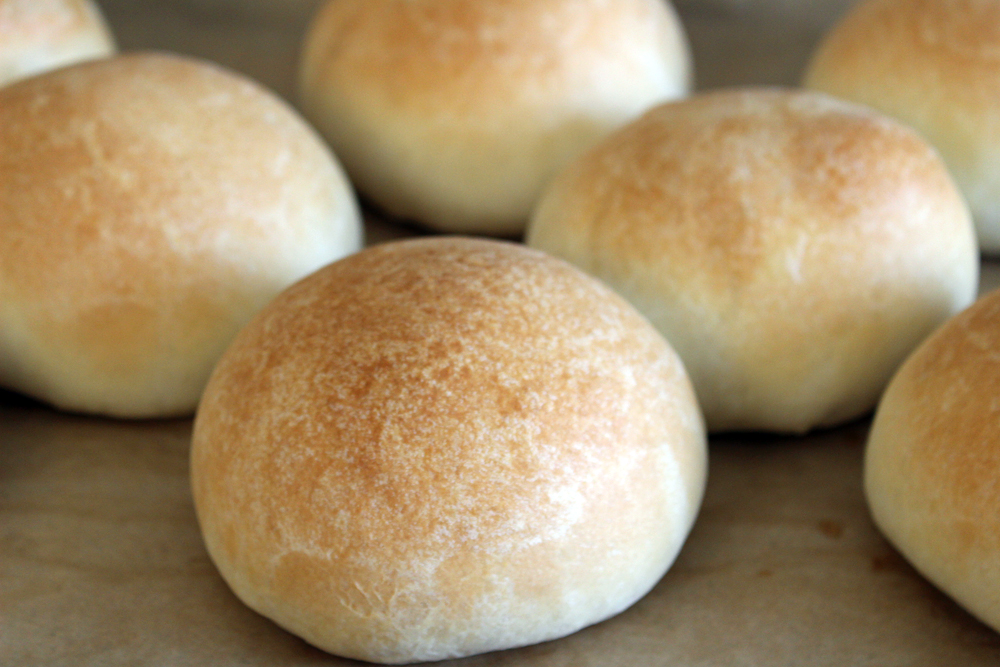
I know it sounds like a lot of work, but baking your own burger buns is really no big deal. With very little hands on time (mostly just waiting around for the dough to rise and then rise again), you’ll be rewarded with quite possibly the best-tasting buns you can imagine. Tender and buttery but sturdy enough to soak up those yummy meaty juices, I will always choose these over store-bought buns.
This recipe started as dinner rolls, but I now turn it into burger buns most often. However, it’s such a versatile dough, you can easily turn it into rolls or even hot dog buns!
For pull apart dinner rolls: Follow the recipe, but divide the dough into 18 equal pieces, forming it into rounds as instructed with the burger buns. Grease two 9-inch round cake pans, and place half of the rolls in each pan, spacing them evenly. Loosely cover with plastic wrap and proceed with the burger buns recipe from here on out.
For hot dog buns: Follow the recipe, dividing the dough into 8 or 10 equal pieces. Roll each piece into a log 4 to 6 inches long. Proceed with the recipe as written from here on out.
These would make an excellent addition to your Father’s Day BBQ, especially with the Chili Burgers!
Recipe: Homemade Burger Buns
Makes 8 burger buns
-
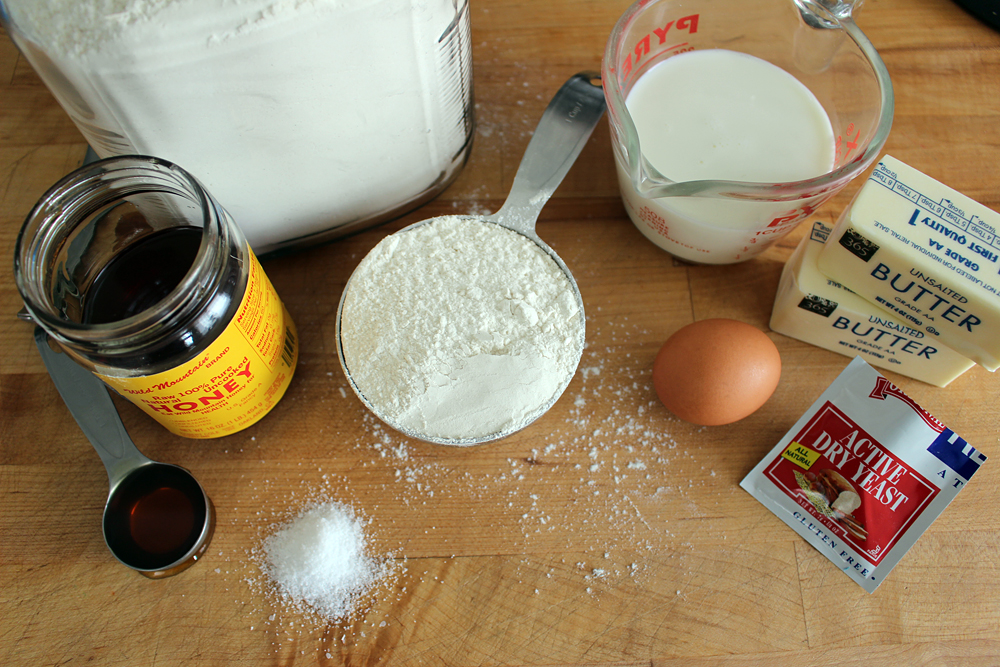
Ingredients:
- 6 tablespoons unsalted butter, plus 3 tablespoons, melted and cooled
- 1 tablespoon honey
- 1 cup whole milk
- 1 package active dry yeast
- 1 large egg, lightly beaten
- 3 cups all-purpose flour
- 2 teaspoons kosher salt
-
Instructions:
- In a saucepan, melt the 6 tablespoons butter with the honey over low heat. Stir in the milk and gently warm the mixture to 110°F (43°C)—it will warm up quickly so keep an eye on it. Pour the milk mixture into the bowl of a stand mixer (or a mixing bowl). Stir in the yeast and let it stand until it started to get foamy, 5–10 minutes.