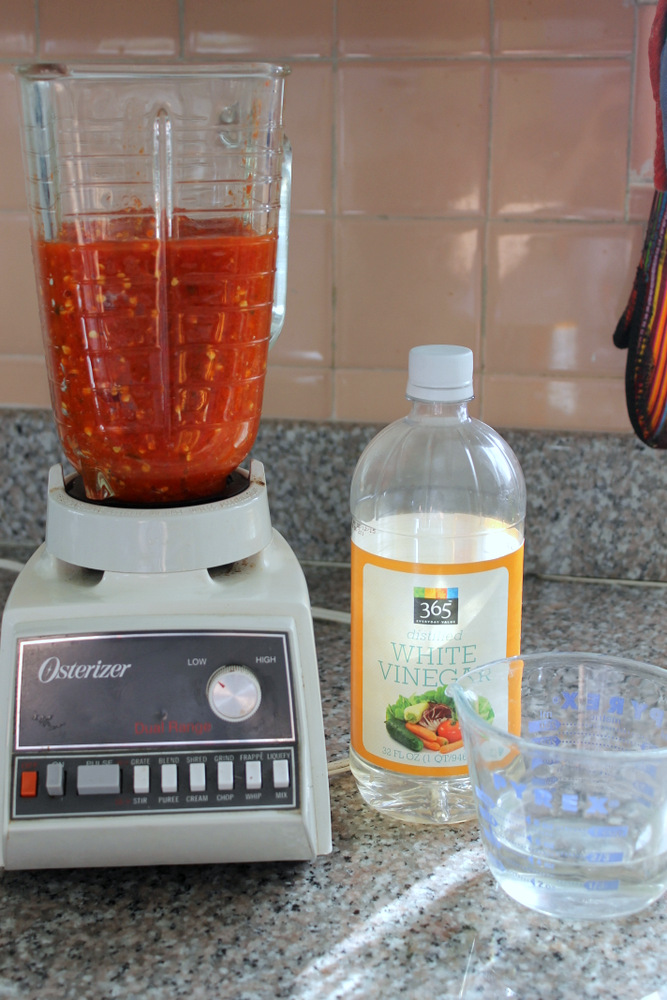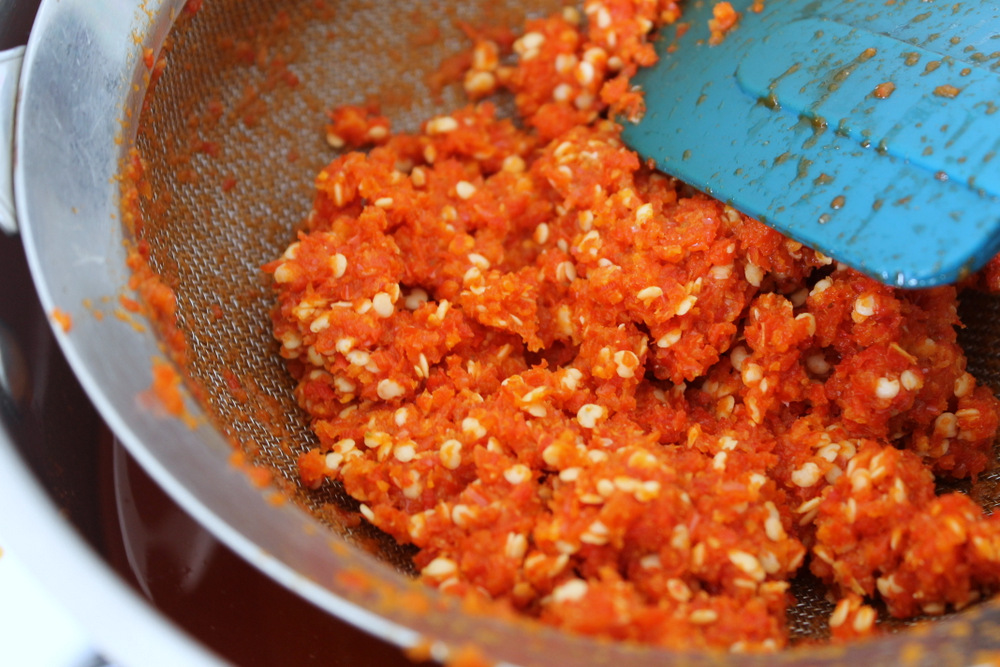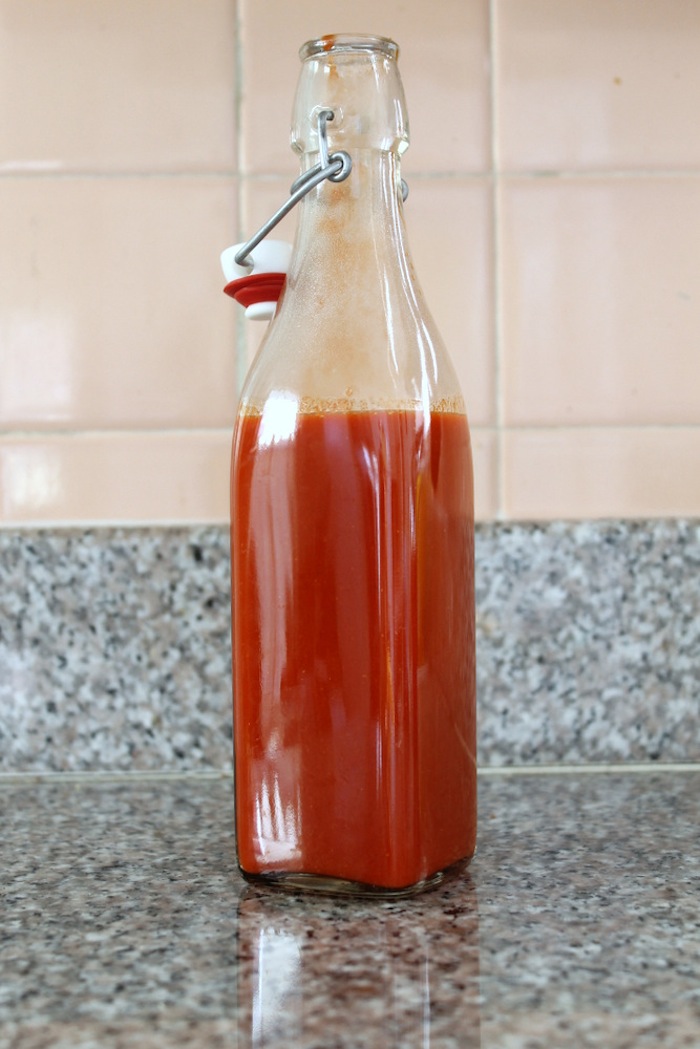
Before Christmas, back when the Srirachapocalypse was nigh, I was privy to a long conversation on strategies for stockpiling the chile-garlic hot sauce. We talked about which stores still carried it, where was the best place to store it, how long can one last on Tabasco alone, and plenty of other topics including a comparison of the number of bottles currently in our kitchens. Me? I had one bottle, close to empty, in my fridge at the time. Still, I don’t necessarily put Sriracha on everything, and I wasn’t terribly worried about its pending depletion. But given the fact that so many other spice-loving folks were already hoarding the stuff, I figured there must be a better way to survive the shortage than buying out Berkeley Bowl’s supply.
With a little bit of patience and a pair of plastic gloves, it’s not too complicated to make Sriracha at home. Plus, heat, garlic, and sugar levels can be easily modified; a boon if you, like me, find Huy Fong Sriracha a bit too sweet.
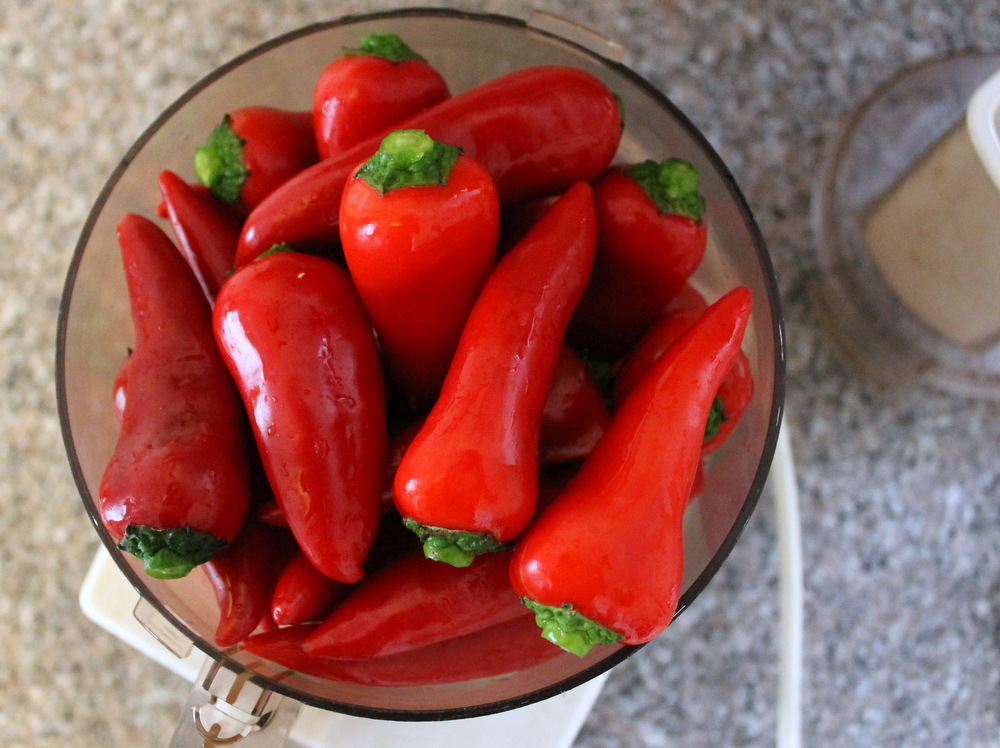
The first step is to make a pepper-garlic mash and let the mixture ferment for around two weeks. Traditionally, chile-garlic sauce is made with red serranos, but I prefer easier-to-find and slightly milder Fresno chiles. For the best flavor, I trim off just the top part of the stem, leaving the aromatic base. I pulse the trimmed chiles with 12 cloves of garlic in a food processor until they’ve broken down a bit before adding brown sugar and kosher salt to the mix. I keep it running until the chiles and garlic have turned into seed-sized bits, and they’ve released much of their juice.
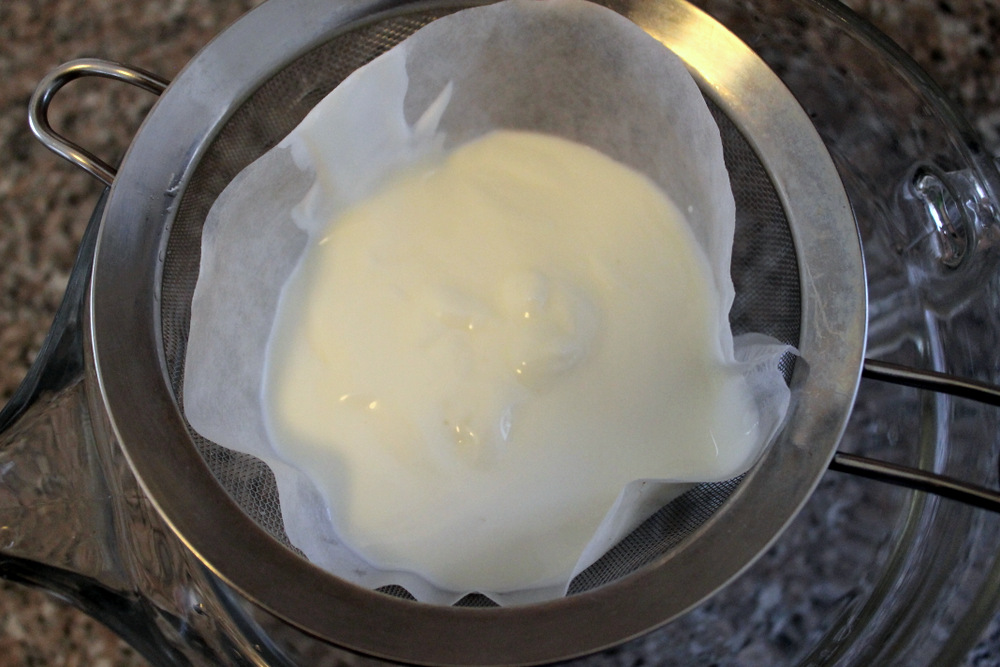
Technically, the chile mixture will ferment safely on its own, as the salt will inhibit the growth of any bad bacteria. Yet I like to give my ferments a little bit of a jump-start with some live cultures. The easiest place to get live cultures is from the whey that drains out of yogurt. I simply scoop a cup of yogurt into a coffee-filter lined strainer and let it drip until I’ve collected 1/4 cup of liquid. (It’ll take a few hours, so this is best to start ahead of time.) I pour the whey into the processor with the chile mash, and pulse to combine. Then I transfer the mixture into a 1-quart glass jar—but I don’t seal it.
The fermentation process will create a carbon dioxide by-product that will need a way to escape. At the same time, it is best to cover the jar to let in as little oxygen as possible. There are air-locks you can purchase that will screw on to canning jars, but I find that simply flipping the lid upside down and screwing the band on loosely will do the trick well enough.
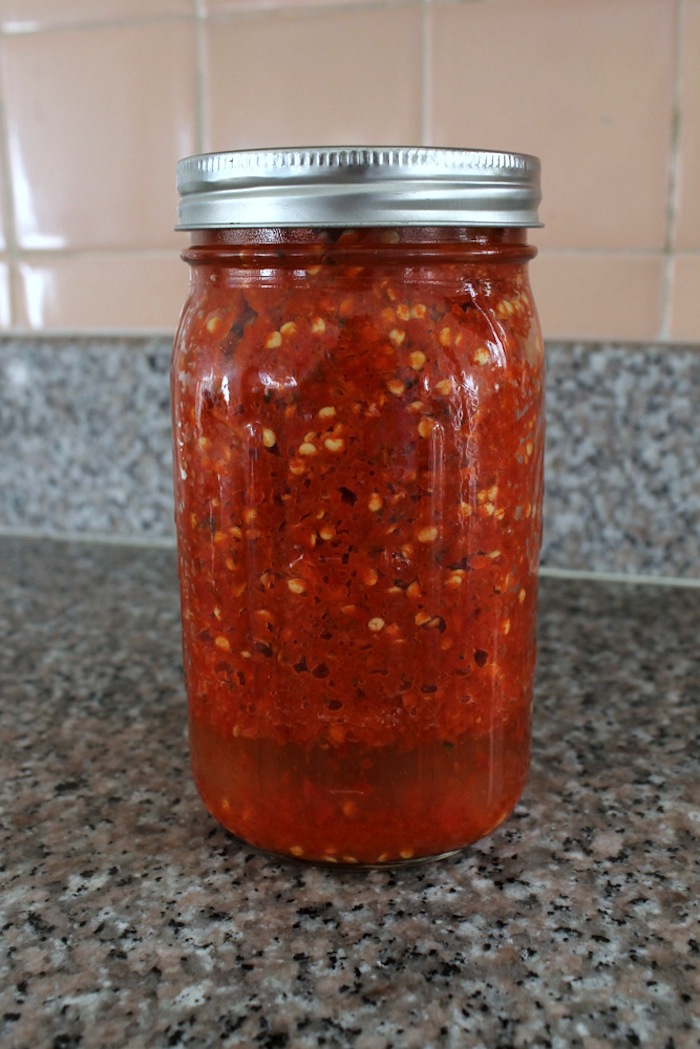
At this point, all the chile mash needs is time. For the first few days, you may not see any changes in the jar; but at some point around day 3 or 4, the mash will appear to grow, form bubbles, and perhaps separate from the liquid at the bottom of this jar. This is good. Continue to monitor the jar. You can open the lid from time to time, take a whiff, and check for mold. The mash should smell sweet, spicy, and maybe a little sour. If anything smells super funky (like paint thinner), you’ll unfortunately need to chuck it and start again.
