upper waypoint

DIY Cheese Recipe: Learn How Easy It Is To Make A Batch Of Homemade Ricotta

Save ArticleSave Article
Failed to save article

Please try again

Homemade ricotta cheese with olive oil and pepper. (Kate Williams)

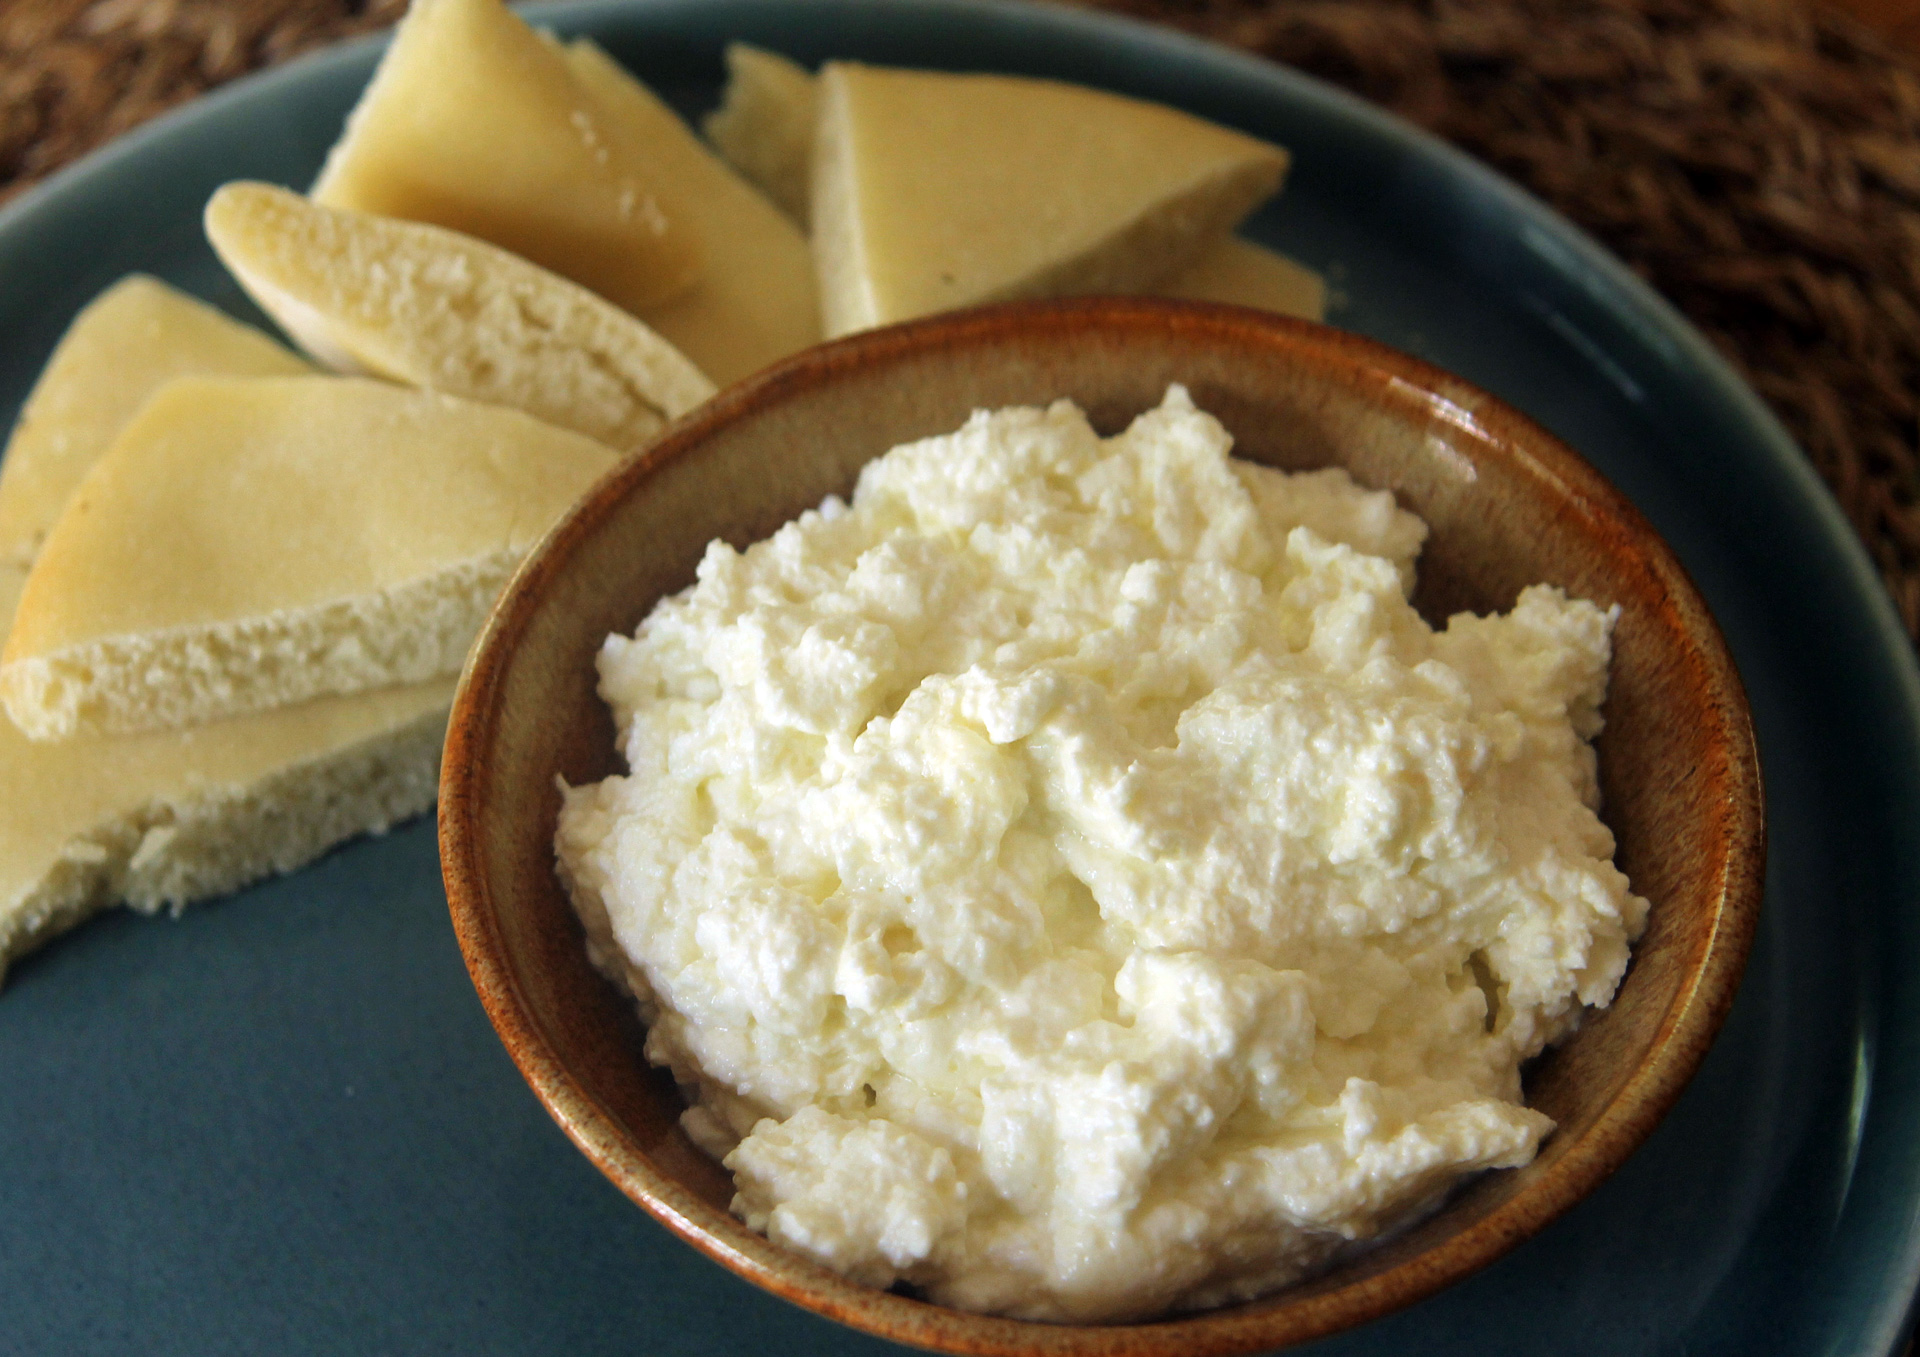
Making homemade cheese sounds like an intimidating prospect. And yes, many cheeses do require quite a bit of work, time, and practice to get it right. Ricotta is not that kind of cheese. Homemade ricotta doesn’t take much more time than an hour and doesn’t require any special ingredients or equipment. It is the perfect gateway cheese.

All you need is a half gallon of milk, an acid, and a good dash of salt. That’s it.

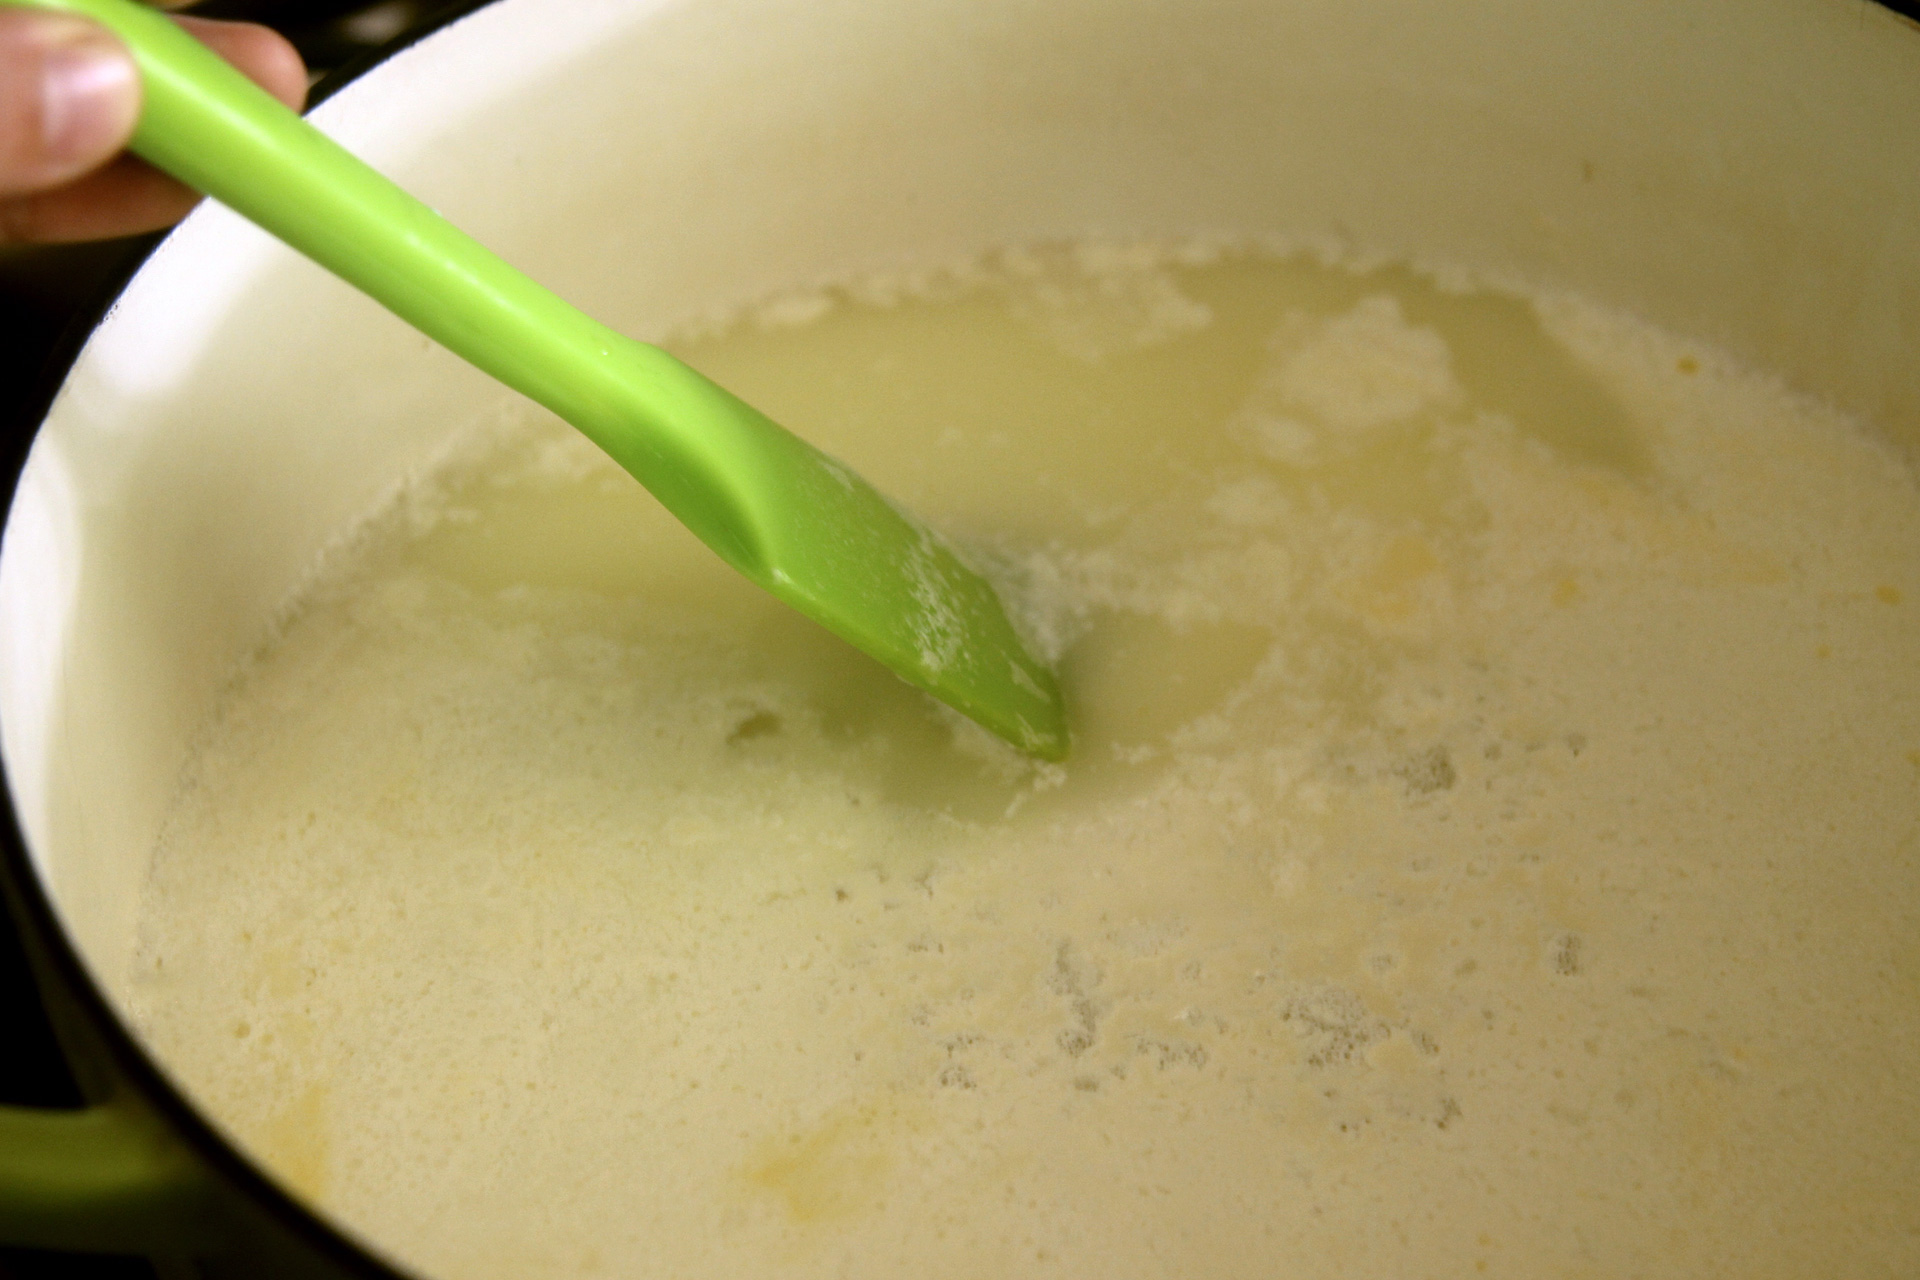
I’ve experimented with various techniques and ingredients over the years and have finally landed on my favorite method — it’s a twist on a style popularized by the website Food52 that uses buttermilk to curdle the milk, lightened up and streamlined. This method is a departure from most recipes, which call for stirring in lemon juice or vinegar into hot milk. The lemon juice method absolutely works, but I’ve found that I much prefer the subtle acidity and larger, fluffier curds the result from buttermilk.

Here’s how to make it happen, this afternoon:

Look for milk that has been “batch-pasteurized” for best results.
Look for milk that has been “batch-pasteurized” for best results. (Kate Williams)

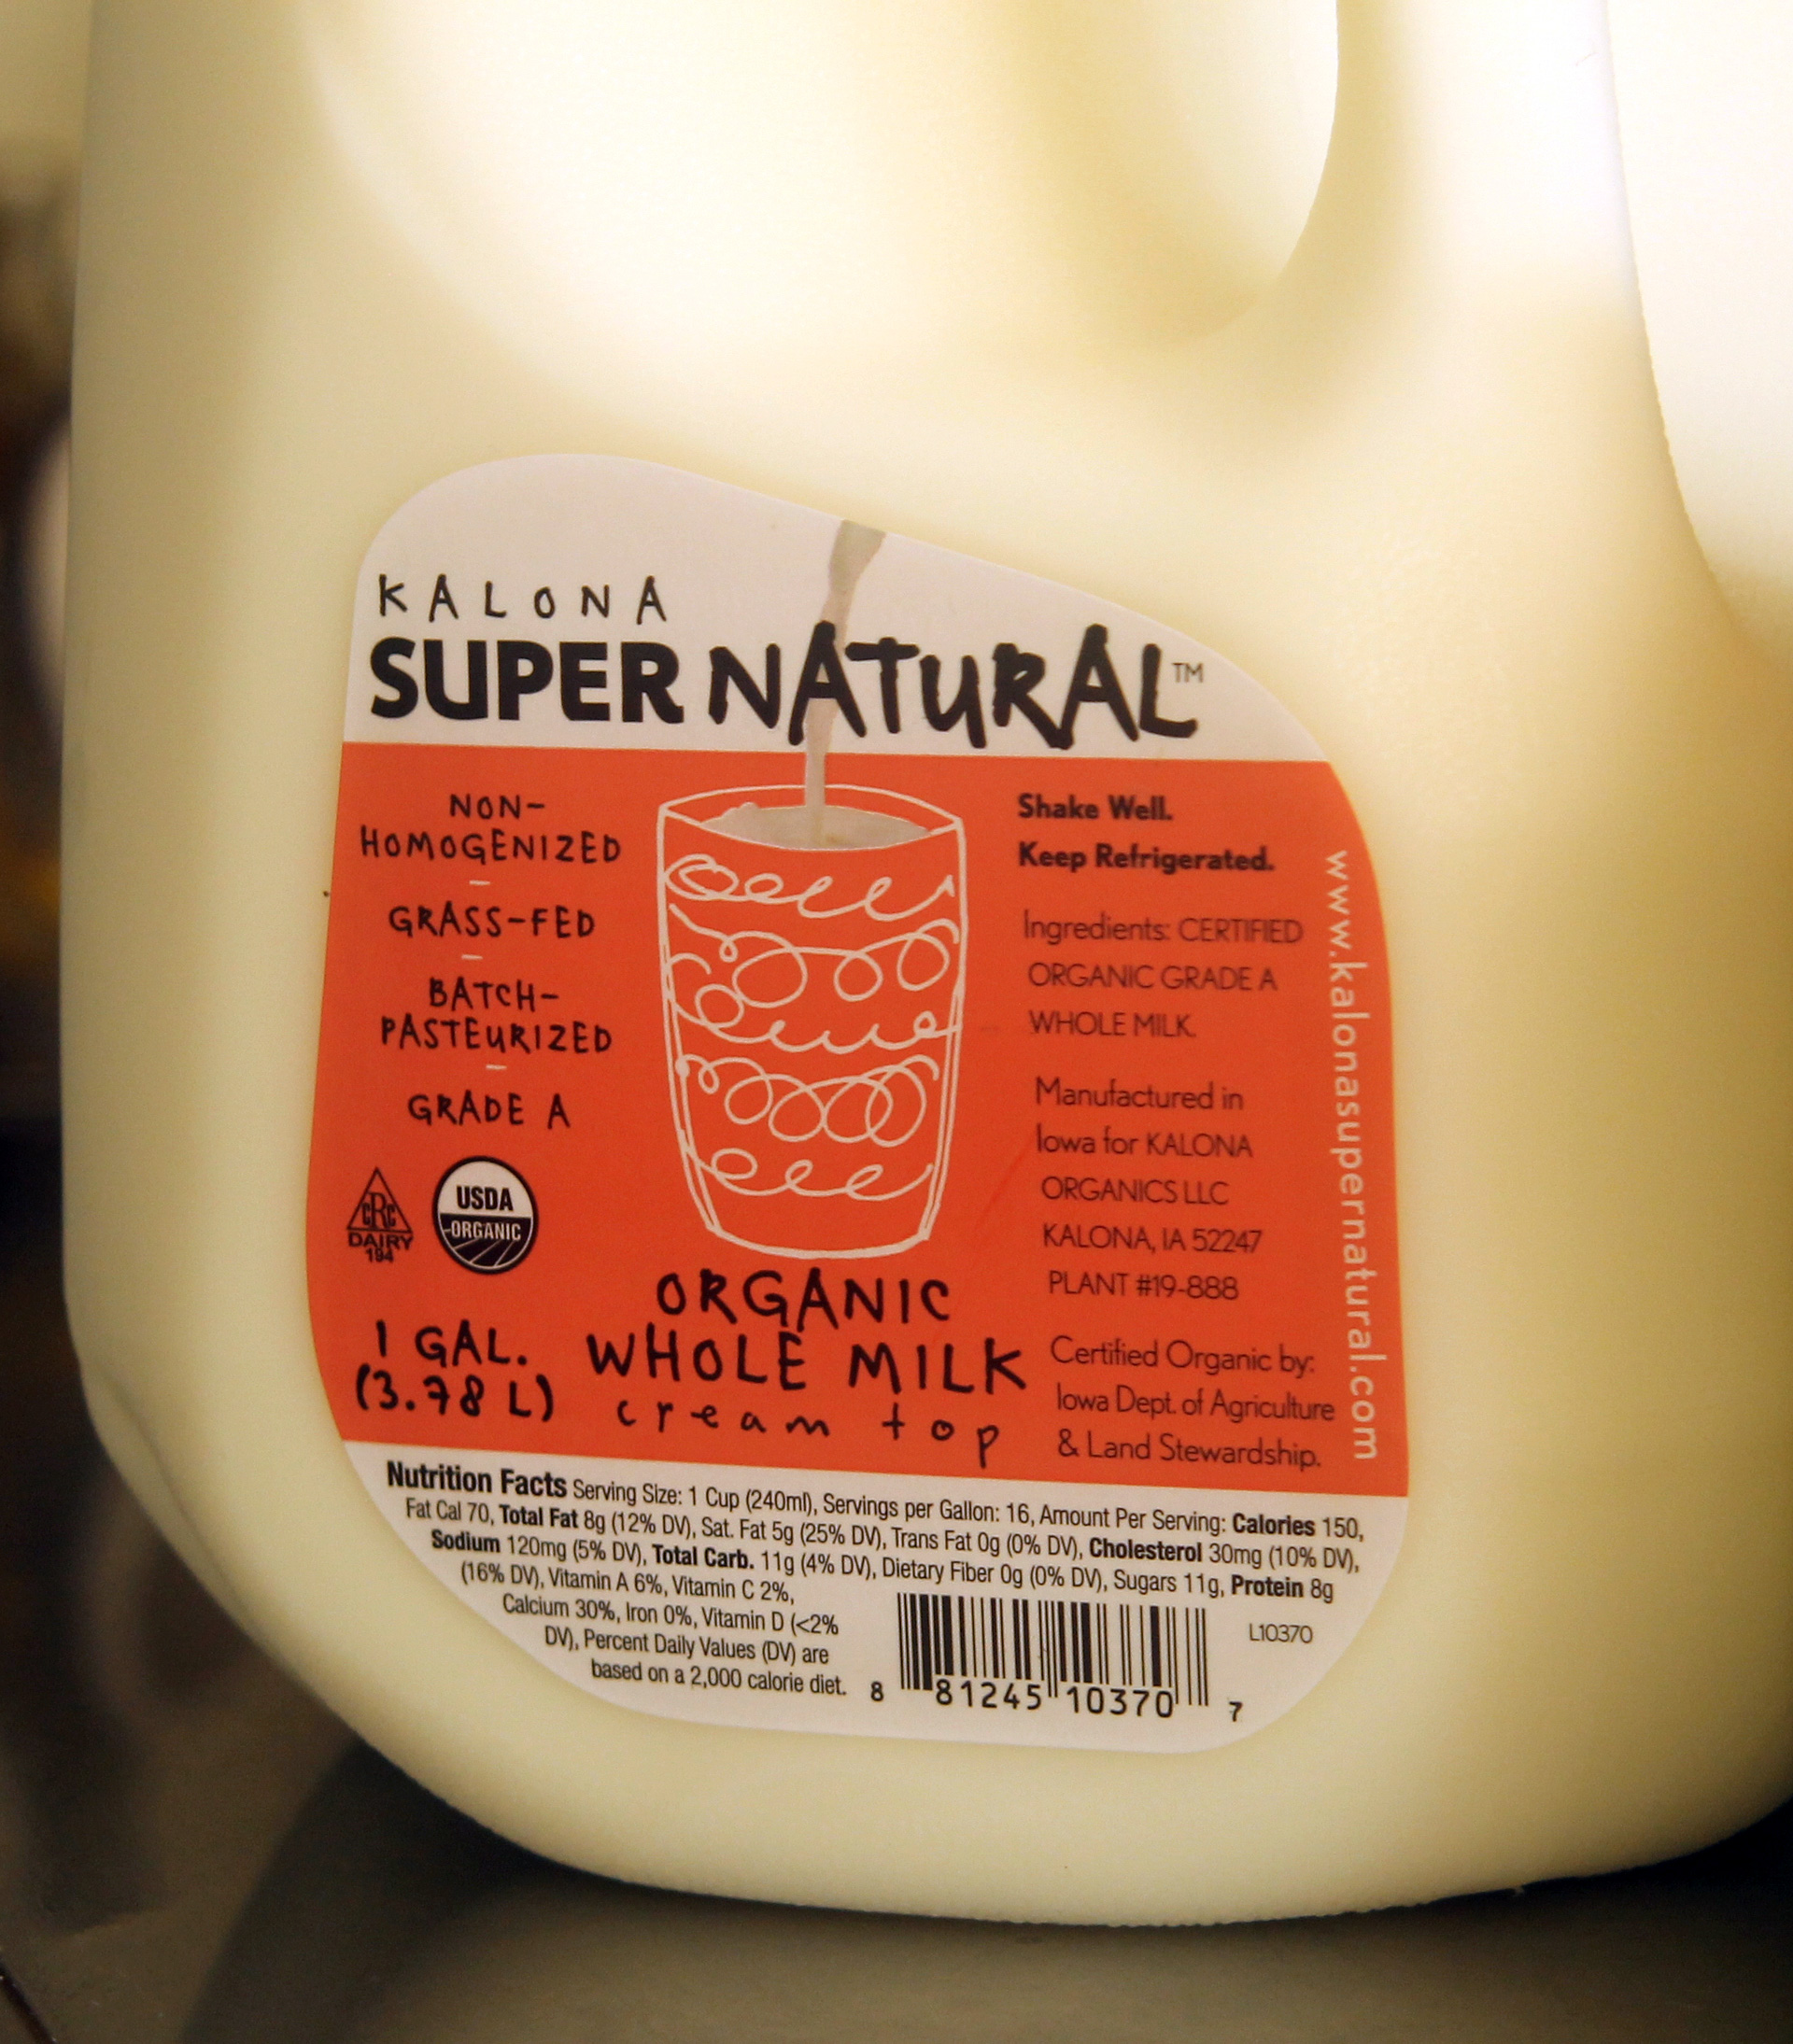
In a large pot, combine whole milk, buttermilk and salt. Look out for the pasteurization style used by the milk producer. It will be written out on the carton. You want milk that has simply been “pasteurized” or, better, “batch-pasteurized.” Many organic milks are “ultra-high-temperature pasteurized,” which means they are heated to a very high temperature for a short period of time. This process kills off basically every possible bacteria in the milk and makes it stubborn, at least as cheesemaking is concerned. Pasteurized and batch-pasteurized milks have been heated to lower temperatures for longer periods of time, and they generally work better as cheesemaking milks. Raw milk is also a great choice if you have access to it.

Sponsored

Bring the milk mixture to a low simmer. As it heats, you’ll notice that very small curds will begin to form in the milk. Once this happens, give the mixture a big stir to encourage curdling, reduce the heat to low and cook for a couple of minutes.

Next, remove the pot from the heat, but keep the milk warm and happy by covering the pot with its lid. Let the milk incubate and continue to curdle, covered, for 30 minutes. This long, slow, warm curdling time will encourage larger curd formation and a nicer final ricotta.

After a 30 minute incubation time, curds will form in a thick raft on top of slightly milky whey.
After a 30 minute incubation time, curds will form in a thick raft on top of slightly milky whey. (Kate Williams)

After 30 minutes, there should be a large raft of curds floating on top of the whey. Unlike when making cheeses with rennet, the whey won’t be entirely clear; this is okay. Scoop those curds out of the pot using a slotted spoon and place them in a colander lined with a triple layer of cheesecloth. Don’t get lazy and dump the whole pot through the colander. You want to treat the curds gently to keep them intact, light, and fluffy.

Scoop out the curds using a slotted spoon and let them drain in cheesecloth-lined strainer.
Scoop out the curds using a slotted spoon and let them drain in cheesecloth-lined strainer. (Kate Williams)

Let the curds drain for anywhere from 10 minutes (for a soft, spreadable ricotta) to an hour (for a firm ricotta to use for cooking). If you’re unsure what you’re looking for, just taste the ricotta every 10 minutes or so and remove it from the colander when it tastes good to you. There’s no right or wrong answer here!

Once the ricotta is how you like it, scoop it out into a bowl or storage container. If you’d like a little extra richness, you can stir in some heavy cream at this point. Many recipes call for adding cream at the very beginning of cooking; however, I find that you get the most bang for your buck, cream-wise, by stirring it in at the end.

That’s it! Your ricotta is ready to use. I like to serve it in a bowl, drizzled with olive oil and sprinkled with freshly ground pepper, but it is also great stuffed into pasta shells or spread on crostini. Whatever you do, eat it right away!

Homemade ricotta cheese.
Homemade ricotta cheese. (Kate Williams)

Recipe: Homemade Ricotta Cheese

Makes about 2 cups

Sponsored

Notes: For the best results, choose a milk that hasn’t been ultra-high-temperature pasteurized (labeled UHT). Many organic milks are UHT, so you may need to look for a non-organic option.

    Ingredients:
  • 8 cups whole milk, preferably batch pasteurized and non-homogenized
  • 1 ½ cups buttermilk
  • 1 teaspoon kosher salt
  • A few tablespoons of heavy cream (optional)
    Instructions:
  1. Combine the milk, buttermilk, and salt in a Dutch oven or other large, heavy pot with a lid. Bring the milk mixture to a simmer over medium heat.
  2. When the milk mixture begins to simmer, you should start to see small curds forming throughout. Once this happens, give the milk mixture one big stir and then reduce the heat as low as it will go. Continue to cook the milk mixture for 2 minutes.
  3. Remove the pot from the heat, cover, and let the milk mixture sit for 30 minutes.
  4. Meanwhile, place a colander in a large bowl and line the colander with a triple layer of cheesecloth.
  5. After 30 minutes, remove the lid. You should see a thick raft of curds floating on top of translucent, yellow whey. (The whey here will not be as clear as when making cheeses using cultures and rennet.) Using a slotted spoon, gently scoop up the curds and transfer them to the prepared colander. Try to keep the curds in as large of pieces as possible.
  6. (Do not dump the entire pot of curds and whey into the colander, as it will break up the curds and will clog them with excess whey.)
  7. Let the ricotta drain for at least 10 minutes, or up to 1 hour. The final draining time depends entirely on your taste and how you will be using the ricotta. If you’re using the ricotta as a spread or a dip, 10 to 20 minutes of draining should be plenty. If you’re using the ricotta for cooking, such as stuffed pasta shells or lasagna, you will want to drain the cheese until it is quite dry, around 1 hour.
  8. If you’d like a little extra richness in your ricotta, stir in a tablespoon or two of heavy cream to the drained cheese.
  9. Eat plain, drizzled with olive oil and cracked pepper, or in any other way you love to eat fresh, creamy cheese.

lower waypoint
next waypoint
Samosas aren’t from India…Wait, what?Food Labeling: How to Identify Conventional, Organic and GMO ProduceSpringtime Delight: Rhubarb Puff-Tart PocketsCheck, Please: How to Pay without looking like a fool or making everyone uncomfortable.Bored of Apples and Walnuts? Try Adding Date Charoset to Your Passover Table This YearBay Area Bites Guide to 8 Great Places to Buy Fresh FishDIY Bone Broth - You Really Should be Making It at HomeFromage de Chat (aka Cat Milk Cheese)Ending It All: How to Finish Your DinnerJosey Baker Bread: Baking for Bros, with Gluten-Free Adventure Bread Recipe